
Last updated November 14, 2026
 Sweep & inspection
 Caps & crowns
 Flue relining
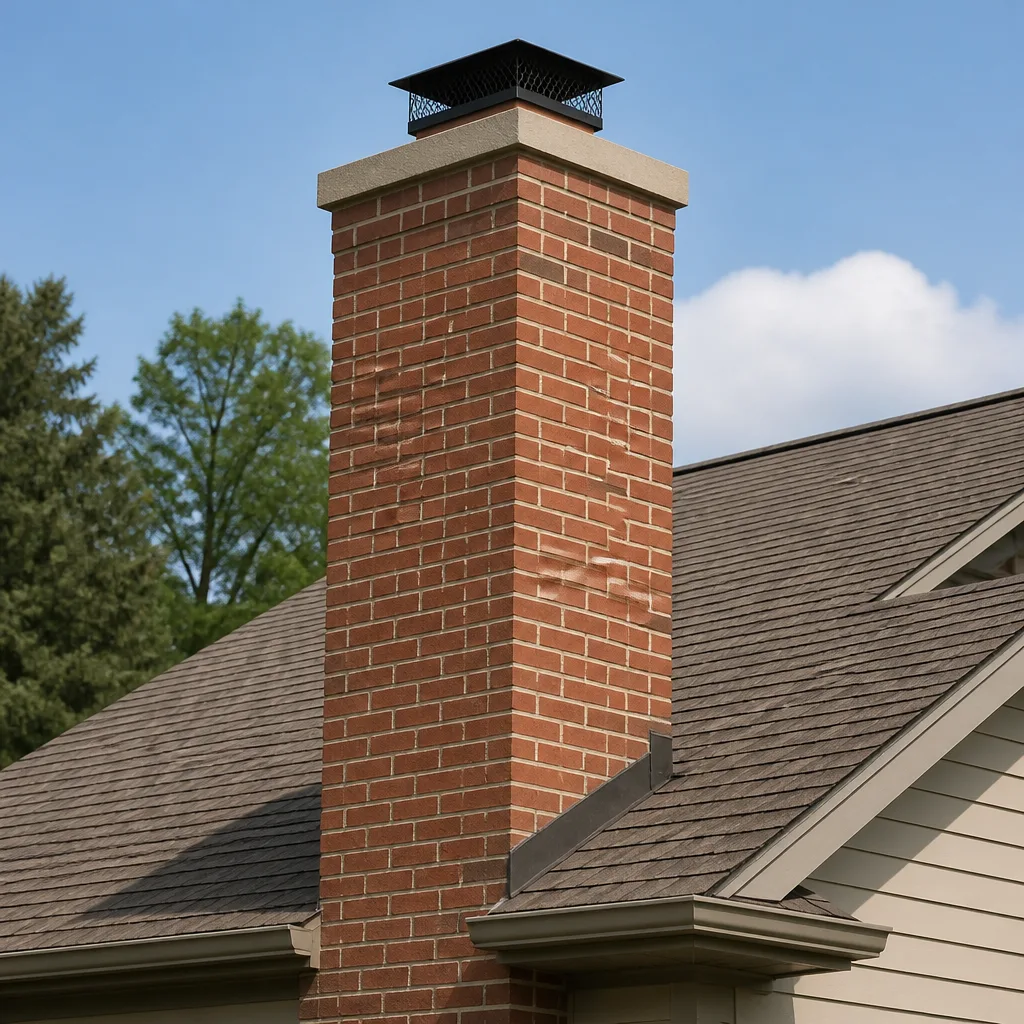 Masonry repair
 Gas fireplace service
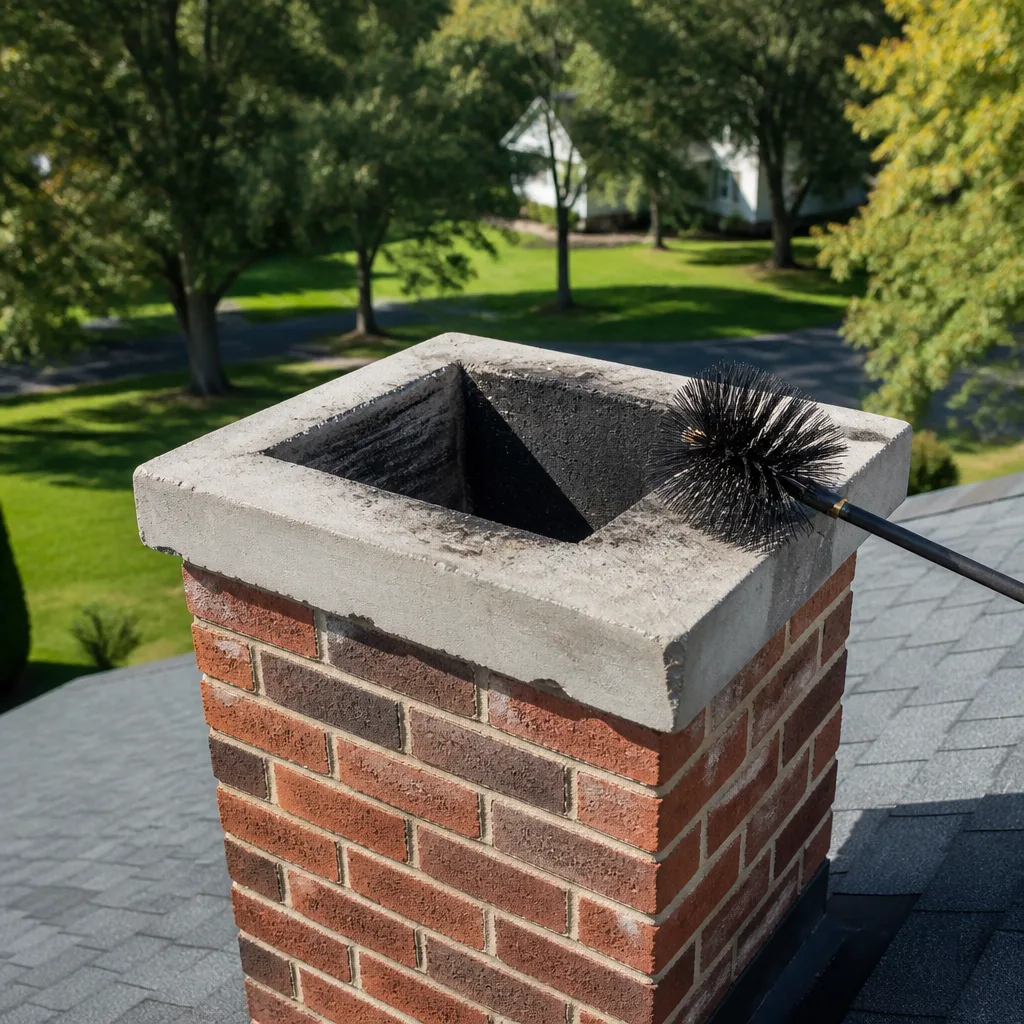
Level 1 sweep and inspection to the NFPA 211 annual standard - flue, crown, cap, and flashing checked and photographed
Chimney sweep logs do not sweep chimneys. They loosen some creosote - which then falls where a brush and vacuum still have to collect it.
Chimney Sweep Maintenance Checklist for Nashville Homeowners
Most chimney checklists tell you to “look for cracks,” which is about as useful as telling someone to “listen for weird noises” when diagnosing a car problem. Cracks where? How wide? Is that one dangerous or cosmetic? The instruction gives you nothing to act on. A chimney is not one system but several stacked on top of each other: the firebox, the damper, the smoke chamber, the flue, the crown, the flashing, and the cap, and each fails in its own way at its own pace. This guide gives you a risk-tiered checklist built for Nashville homes, organized by how dangerous a problem is rather than where it sits on the chimney. You’ll learn what you can safely assess from the ground, what needs a professional camera, how to document your chimney year over year, and which items homeowners routinely wave off as minor when they aren’t.
Quick Answer
A chimney maintenance checklist for Nashville homeowners should be organized by risk level, not just by location on the chimney. Tier one covers immediate fire and carbon monoxide hazards: creosote buildup, blocked or damaged flue liners, a missing or loose cap, and a closed or stuck damper. Tier two covers functional maintenance items like a deteriorated crown, failed flashing, and a rusted damper assembly. Tier three is cosmetic. Check annually before the first fall burn, again mid-winter, after the season closes, and after any major storm, and photograph everything so you can track change over time rather than judging a single snapshot.
Styles & brands we work with
- Sweep & inspection
- Caps & crowns
- Flue relining
- Masonry repair
- Gas fireplace service
Table of Contents
- Why a Risk-Based Chimney Checklist Beats a Seasonal To-Do List
- Tier One: Immediate Safety Concerns to Check First
- Tier Two: Functional Maintenance Items That Protect the Structure
- Tier Three: Cosmetic Issues You Can Note and Watch
- What You Can Assess From the Ground vs. What Needs a Camera
- Seasonal Timing: What to Check Before, During, and After Burning Season
- How to Document Your Chimney Year Over Year
- Checklist Items You Can Spot Yourself but Shouldn’t Fix Yourself
- The Venting Checklist Item Most Homeowners Forget
Why a Risk-Based Chimney Checklist Beats a Seasonal To-Do List
A traditional checklist is a flat list. Crown, cap, flashing, damper, flue, firebox, done. It treats a hairline crack in the firebox brick the same as a cracked flue liner, when one is a watch item and the other can let heat and carbon monoxide into the walls of your home. That’s the problem. A flat list shows you everything at once and tells you nothing about priority, so homeowners either panic about the wrong thing or ignore the right one.
A risk-based checklist sorts by consequence. Tier one items can cause a chimney fire or a carbon monoxide event if they fail. Tier two items degrade the structure and get expensive if you let them run. Tier three items are visual and rarely urgent. Same chimney, same walkaround, completely different decision-making.
This framing matters in Nashville specifically because of how the burning season actually runs here. Middle Tennessee winters swing hard: a stretch of mild days, then a sharp cold snap that sends everyone to the fireplace at once. That pattern means your chimney goes from idle to heavy use in a matter of days, and whatever was sitting in the flue all summer gets burned through in a hurry. A February cold snap is not the moment to discover a tier one problem. Checking by risk level in the fall gives you the lead time to fix what matters and leave the rest on a watch list.
It also changes how you spend money. When you know which tier a problem belongs to, you can have an honest conversation with any contractor about what can safely wait a season and what can’t. That’s the whole point of the Nashville chimney cleaning framework we use: sort by hazard first, then decide.
Tier One: Immediate Safety Concerns to Check First
Tier one problems are the ones tied directly to chimney fires and carbon monoxide. If you find one, stop using the fireplace until a professional has looked at it. These aren’t items to note and monitor.
Creosote buildup. Creosote is the residue left when wood smoke cools against the flue walls. It comes in stages, from a light soot you can brush away to a hardened, glazed, tar-like layer that ignites readily and burns hot. You cannot reliably judge creosote depth by looking up the flue from the firebox with a flashlight. A professional sweep with a camera sees the whole flue and can tell you what stage you’re dealing with. A standard chimney sweep removes what’s there, and the camera inspection tells you how fast it’s coming back.
Flue liner damage. The liner is the barrier between the hot flue gases and the combustible framing of your house. Cracks, gaps at the joints, spalling, or a liner that was never correctly sized for the appliance can let heat and carbon monoxide escape into the structure. This is a tier one item because the failure mode is invisible from the room. You need a camera.
Blocked flue. Nests, leaves, a collapsed liner section, or a cap that has failed can partially or fully block the flue. A blocked flue pushes smoke and carbon monoxide back into the living space. If smoke rolls into the room when you light a fire, treat it as a blockage until proven otherwise.
Damper problems. A damper that won’t open fully, or one stuck closed, is a safety issue. A stuck-closed damper does the same thing a blocked flue does.
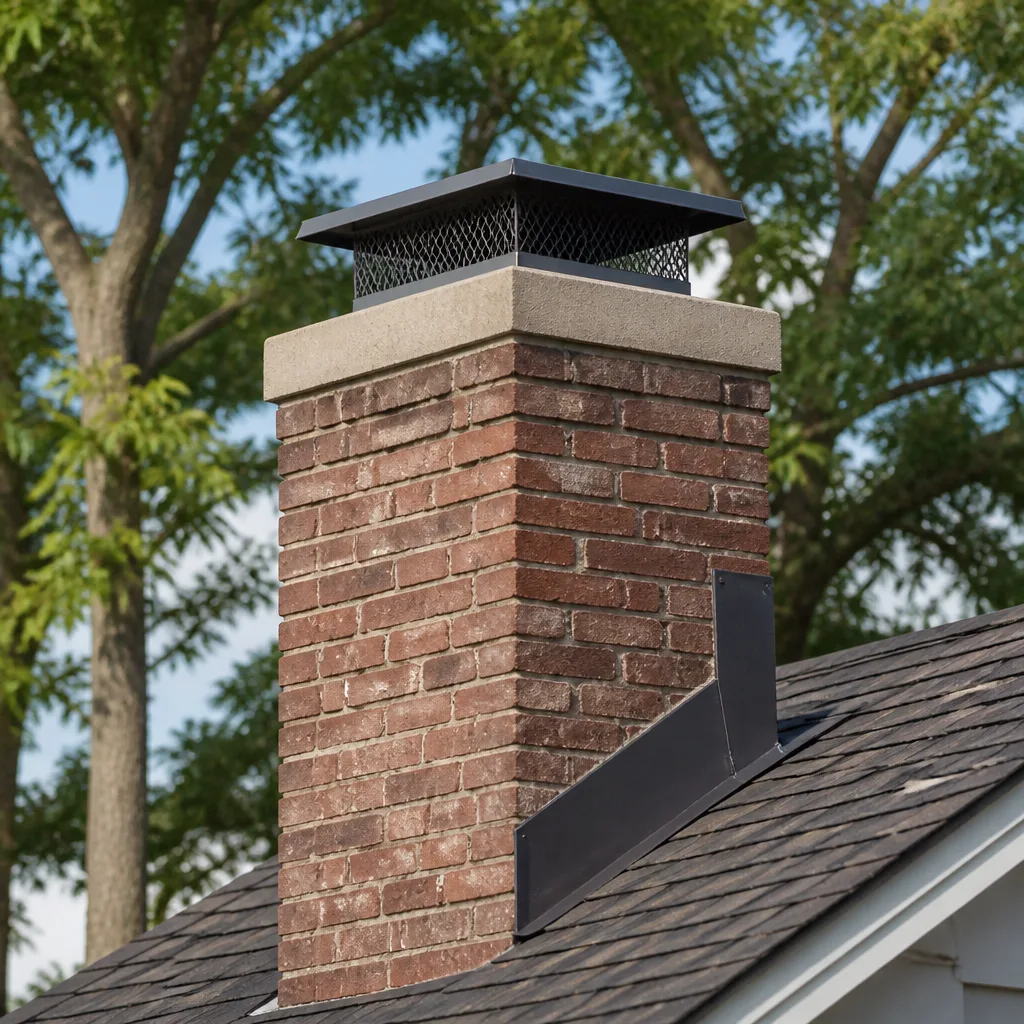
Missing or loose cap. A cap keeps water, animals, and debris out of the flue. When it’s gone or rattling loose, everything gets in. We install caps and venting hardware from brands like Olympia Chimney and Copperfield because a cap is a cheap fix that prevents expensive tier one problems downstream.
If any of these are on your list, call before you burn again. These are the items where waiting a season is not a neutral choice.
Tier Two: Functional Maintenance Items That Protect the Structure
Tier two items won’t cause a chimney fire tomorrow, but they degrade the chimney and the house around it, and they get more expensive the longer they sit. These are the “fix this season” items.
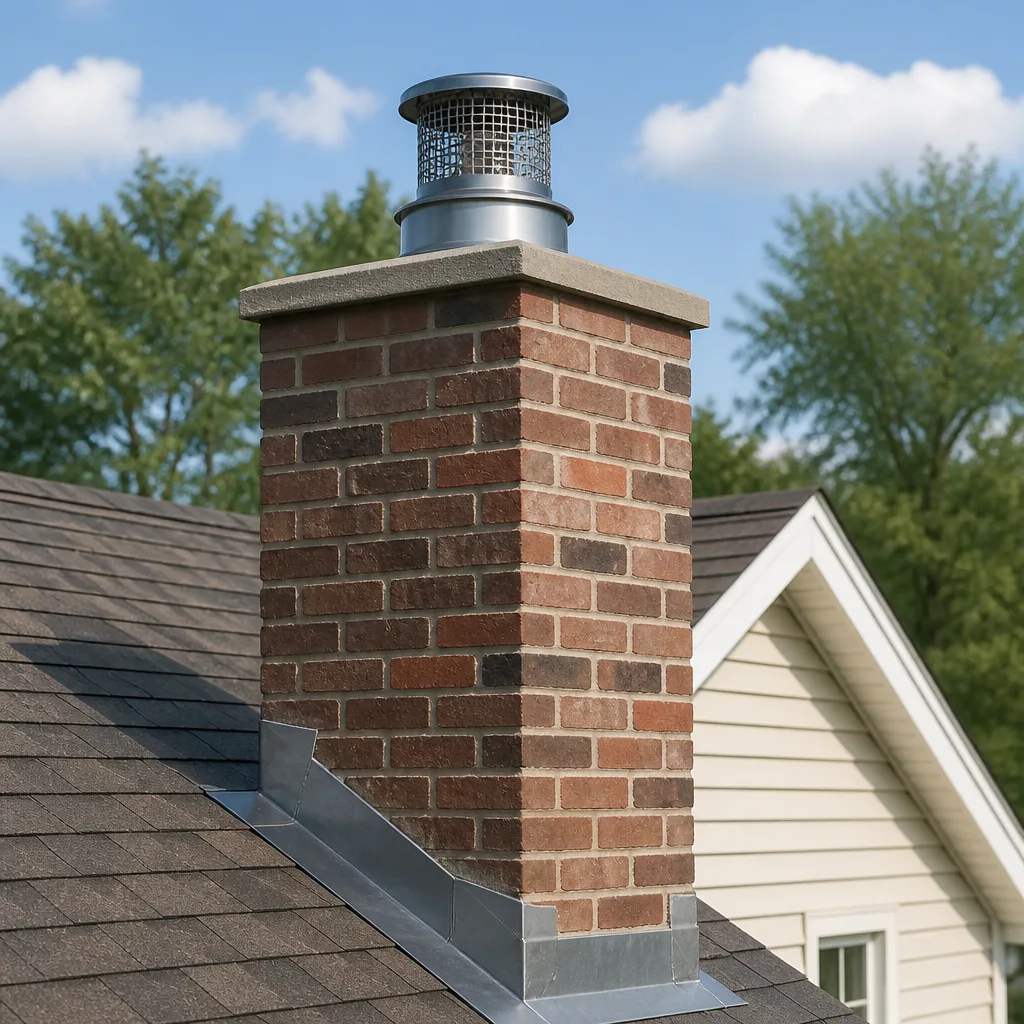
- Crown condition. The crown is the concrete cap at the top of the chimney that sheds water away from the flue. Cracks, spalling, or a crown that has pulled away from the flue lets water in, and water is the most patient destroyer of masonry. A small crown crack is a repair. A neglected one becomes a rebuild.
- Flashing. The metal where the chimney meets the roof. Failed flashing shows up as staining on the ceiling or chimney breast inside the house, or rust and lifting at the roof line outside. It’s a roofing-adjacent fix that keeps water out of the chimney chase.
- Masonry joints and brick faces. Deteriorated mortar joints and spalling brick faces (brick that’s flaking or crumbling) are common in Middle Tennessee because the region’s freeze-thaw cycles work on any moisture that gets into the masonry. Repairing joints before the faces go saves the brick itself.
- Damper assembly and hardware. Rust, a damper that sticks, or a damper plate that no longer seats. These are functional problems that make the fireplace harder to control and less efficient.
- Chimney chase and exterior condition. Any gap where the chimney meets siding or trim, which lets water and pests into the structure.
- Smoke chamber condition. The transition zone above the damper where smoke gathers before it goes up the flue. Rough or deteriorated surfaces here slow the draft and collect creosote.
Tier two is also where a repair like HeatShield ceramic resurfacing comes into play. It’s a repair-grade restoration system that rebuilds the flue’s interior surface from the inside, restoring integrity without a full liner replacement. It’s a middle path between “the flue is fine” and “you need a whole new liner,” and it’s the option a lot of homeowners never hear about because it requires a specialist equipped to do it. When a tier two flue problem is caught early, resurfacing is often the difference between a repair and a replacement.
Tier Three: Cosmetic Issues You Can Note and Watch
Tier three is the category that saves you money, because knowing what’s cosmetic means you don’t get sold a repair you don’t need. These items go on the watch list. You photograph them, note them, and check them next year.
- Surface staining on the exterior masonry. Discoloration that isn’t accompanied by spalling, soft mortar, or interior water staining is a cleaning and watching item, not an emergency.
- Minor rust on the firebox grate or damper handle. Surface rust on a grate is normal wear. It’s cosmetic unless the metal is structurally failing.
- Paint or finish wear on the firebox. Cosmetic.
- Small chips in the firebox brick face that aren’t cracks through the brick and don’t show gaps at the mortar line.
- Staining on the outside of the cap from weather, without functional damage to the cap itself.
The trap with tier three is that some cosmetic-looking issues are actually early tier one or tier two signals in disguise. A hairline crack in the firebox brick that’s just in the face is cosmetic. A crack that goes through the brick, or a gap at a mortar joint, can let heat reach the framing behind the firebox, and that’s a tier one problem. The visual difference is small. The consequence difference isn’t. That’s why tier three items still get photographed and reviewed by someone who knows what they’re looking at, rather than simply ignored.
We’d rather tell a Nashville homeowner “watch this, it’s cosmetic, check it again next fall” than sell a repair that doesn’t need doing. The honest answer is the one that keeps you coming back.
What You Can Assess From the Ground vs. What Needs a Camera
You can do real, useful observation from the ground. You cannot see inside the flue from the ground, and that’s the limit that matters.
What you can check from ground level:
- Look up at the cap: is it present, straight, and attached? A missing or tilted cap is visible from the yard.
- Look at the crown: can you see cracks from the ground, or has the top edge crumbled?
- Scan the exterior masonry for spalling brick faces, missing mortar, or obvious lean.
- Check the flashing line where the chimney meets the roof for lifting metal, rust, or gaps.
- Look for staining, efflorescence (the white mineral bloom that can indicate moisture moving through masonry), or vegetation growing out of the chimney.
- Inside, open the damper and check that it moves freely through its full range, and look up into the firebox and smoke chamber with a flashlight for obvious blockage or heavy soot.
- Light a small fire and watch the smoke: does it draw up the flue, or roll into the room?
What requires a professional with a camera:
- The full length of the flue liner, including joints between liner sections.
- The condition of the smoke chamber and the transition from firebox to flue.
- Creosote depth and stage throughout the flue.
- Any offset, gap, or collapsed section inside the flue.
- The interior of the flue above and below any appliance connection.
A camera inspection with a photo report included is the standard here, and it’s the reason we don’t recommend “sweep only” visits with no look inside. The camera is what turns a checklist into a diagnosis. It’s also what gives you something to verify for yourself: the photos are yours, and you can see exactly what the technician sees rather than taking a claim on faith. That’s the answer to the real hesitation most Nashville homeowners have, which is being told they need thousands in liner work with no way to confirm it. Nothing gets recommended without camera evidence you can look at.
Seasonal Timing: What to Check Before, During, and After Burning Season
Nashville’s burning season is real but variable. Some years the fireplace gets serious use from late October, other years it’s a mild stretch into December before the first hard cold arrives. The checklist doesn’t care about the calendar so much as the sequence: pre-season, mid-season, post-season, and after any major storm. Each pass has a different job.
1. Before the first fall burn. Full pass, all three tiers. This is when you schedule the sweep and camera inspection, replace or tighten the cap if needed, confirm the damper works, and photograph everything as your year-over-year baseline. Doing this before the first cold snap means you’re not competing for a slot once the weather turns.
2. Mid-winter. A light pass. Check that the cap is still in place after any wind event, confirm the damper still works, and watch for smoke rolling into the room. Heavy use is the period when creosote accumulates fastest, especially if you’re burning at low, smoldering temperatures. If you’re burning a lot and notice the fire drawing poorly, that’s the signal to have it looked at mid-season rather than waiting it out.
3. After the season closes. This is the pass most homeowners skip and the one that catches the most tier two damage. The freeze-thaw cycles of a Middle Tennessee late winter and early spring are exactly when crown cracks widen and mortar joints loosen. Spring is the right time to photograph the exterior and log what changed, because by fall the damage will be a season older and more expensive.
4. After any major storm. Wind, driven rain, and falling limbs do specific things to a chimney: they rip off caps, lift flashing, and drive water into cracks. A post-storm check is five minutes at the base of the chimney looking up, plus a look at the ceiling around the chimney chase inside. If anything’s changed, get eyes on it.
For anyone who’d rather not track the schedule themselves, a professional sweep and inspection in the fall covers the pre-season pass and leaves you with a documented baseline for the rest of the year. Call (844) 405-8628 to set one up. We answer 24/7. Fast dispatch from 7am to 7pm, Sunday through Friday.
How to Document Your Chimney Year Over Year
A single inspection tells you the chimney’s current state. A photo log tells you its rate of deterioration, and that’s the more useful number. A hairline crown crack that’s been there for ten years is a different problem than one that appeared last season and doubled in size. Without a record, you can’t tell the difference. With one, you can.
Here’s how to build a log that a contractor can actually use:
- Take the same photos from the same angles every year. Stand at the same spot in the yard and photograph the full chimney, the cap, the crown, the flashing, and the masonry on each side. Consistency is what makes the comparison meaningful.
- Date every photo and note the conditions. Season, weather, and whether the photo was taken after a storm.
- Ask for the camera inspection photos from your sweep and keep them. A professional inspection should include a photo report of the flue interior. Save those alongside your exterior photos, labeled by year.
- Keep a short list of items by tier. Next to each photo set, note which tier each issue was in and what was done about it. Watch items stay on the list until you decide, with a professional’s input, that they’re resolved or cosmetic.
- Review the log before each fall inspection. Bring it to the appointment. A technician who can see last year’s crack and this year’s crack in the same frame gives you a better recommendation than one starting from scratch.
The value of this in a Nashville climate is real. Moisture and freeze-thaw move slowly and unevenly, and a rate-of-change record is what separates a watch item from a repair you should schedule this fall. It’s also a hedge against over-selling: when you have the history in front of you, you can see when a problem is genuinely new and needs action, and when it’s the same minor issue you documented three years ago.
Checklist Items You Can Spot Yourself but Shouldn’t Fix Yourself
This is the section most checklist guides avoid, because the honest answer is: a lot of what you can see, you shouldn’t touch. A chimney has genuinely dangerous components, and the line between observation and intervention is where people get hurt.
DIY-observable, professional-required:
- Flue liner cracks. You can see a suspicious shadow on a camera photo. You cannot repair a liner from the fireplace, and doing so requires professional-grade liner systems. Full liner work is done with flexible liner systems like DuraFlex, which is specified by CSIA-certified professionals across the industry. It’s not a homeowner job, and it isn’t a job for a generalist, either.
- Creosote in a glazed stage. You can tell it’s there. Removing glazed creosote safely requires specific tools and a technician trained to do it without cracking the flue.
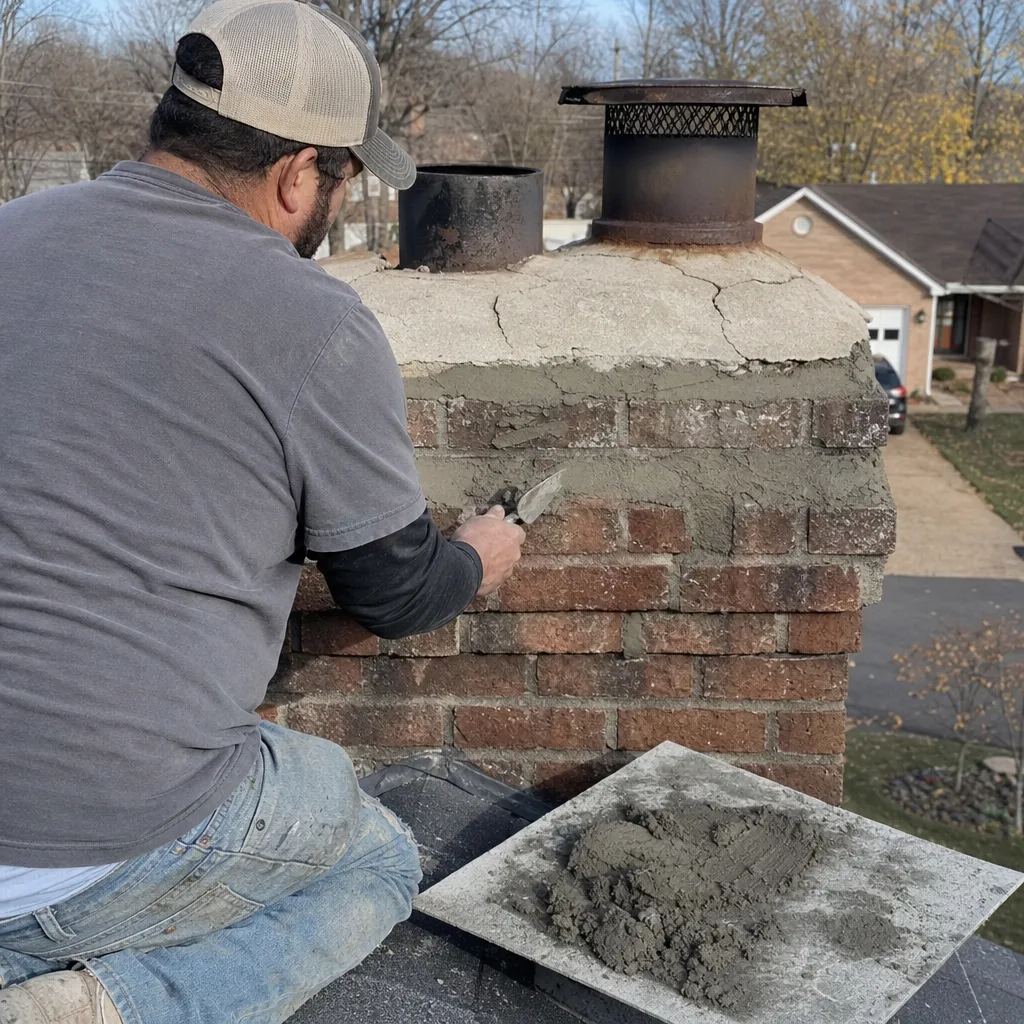
- Crown and masonry cracks. Visible from the ground. Repairing a crown or repointing mortar joints is masonry work with a right and wrong way of doing it, and a bad repair traps moisture rather than shedding it.
- Liner gap or offset. You can spot the symptom (poor draft, smoke in the room) but the fix requires a camera to locate and a professional to address.
- HeatShield resurfacing and DuraFlex relining. Both are professional applications that require the correct materials and the experience to apply them properly. This is where a specialist matters.
Mistaken as DIY because they look easy: the cap and damper hardware. A cap looks like a simple replacement. Done wrong, it leaves a gap that lets water and animals in, which is the exact problem it was supposed to prevent. We stock and install components from Gelco, Olympia Chimney, Famco, and Copperfield specifically because the right hardware and the right fit matter for a job this small.
The general rule: you can look, photograph, and call. When it comes to the flue, the crown, the liner, or any component exposed to heat or flue gases, call us. None of this is a scare tactic. It’s that a chimney is a vent for fire and carbon monoxide, and the failure mode of a bad repair is not “it looks bad,” it’s a safety event.
The Venting Checklist Item Most Homeowners Forget
The chimney gets the attention, but a home with a gas dryer has a second venting system that carries the same class of risk. Lint accumulation in a dryer vent restricts airflow, and restricted airflow is a fire condition: the dryer runs hotter, lint builds faster, and the cycle compounds. Lint is highly combustible, and dryer vent fires are an established category of residential fire, which is why a dryer vent belongs on the same checklist as the chimney. It carries heat and exhaust just like the flue does, and it gets neglected the same way.
A dryer vent checklist looks different from a chimney one. It’s smaller and more specific:
- The vent run itself, from the dryer connection to the exterior termination.
- The exterior termination: is the damper free to open, or has lint packed it shut?
- The transition duct behind the dryer, which is where lint first accumulates.
- The overall layout: long runs, too many elbows, or a crushed flexible duct slow airflow and speed up lint buildup.
Lint accumulation in a dryer vent is one of the risks dryer vent cleaning is meant to address, and it’s a fire-safety service rather than a housekeeping chore. The same specialist approach that applies to the chimney applies here. On the duct and venting side, our work is informed by expertise with Famco venting systems, the kind of material knowledge that matters for rerouting a poorly laid-out vent run or replacing components with hardware that fits. If your dryer vent has never been cleaned, or if you’ve never looked at the exterior termination to see whether it opens freely, that goes on the checklist next to the chimney.
Common Mistakes to Avoid
- Treating a flat checklist as a priority list. Checking everything with equal weight leaves you unsure what to fix first. Sort by tier, and act on tier one immediately. The whole point of the risk-based framework is that a hairline firebox crack and a cracked flue liner are not the same problem.
- Sweeping without a camera inspection. A sweep cleans the flue, but it doesn’t tell you the condition of the liner unless someone actually looks inside with a camera. Ask for the photo report, and keep it.
- Assuming a cosmetic crack is cosmetic. Cracks through the firebox brick and gaps at the mortar line can let heat reach the framing. A fireplace that looks fine from the room can have a tier one problem behind it. This is the misclassification that costs homeowners the most.
- Skipping the post-season check. Spring is when freeze-thaw damage in Middle Tennessee masonry widens crown cracks and loosens joints. The fall check catches what’s there at the start of the season. The spring check catches what the winter did to it. Doing only one leaves half the information on the table.
- Forgetting the dryer vent. Lint buildup is a fire condition, and the vent is often the least-examined system in the house. It goes on the same checklist as the chimney.
- Letting someone repair a liner without showing you why. A liner recommendation should come with camera photos you can see. If you can’t see the evidence, don’t authorize the work. This applies to any contractor, including us.
- Burning wet wood or smoldering fires all winter. Both accelerate creosote buildup, which is exactly the tier one item you want to keep small. Seasoned wood and hotter fires are the cheapest form of chimney maintenance there is.
See the difference
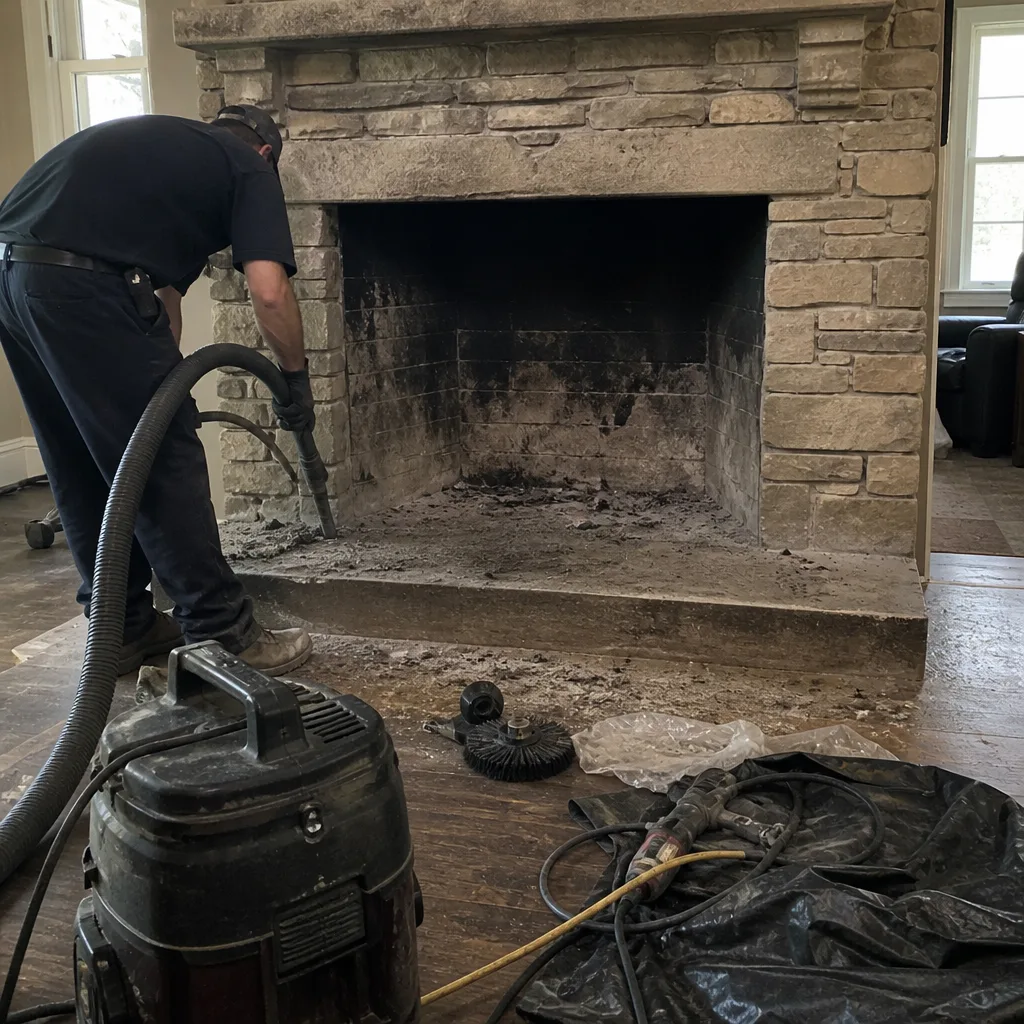 Before
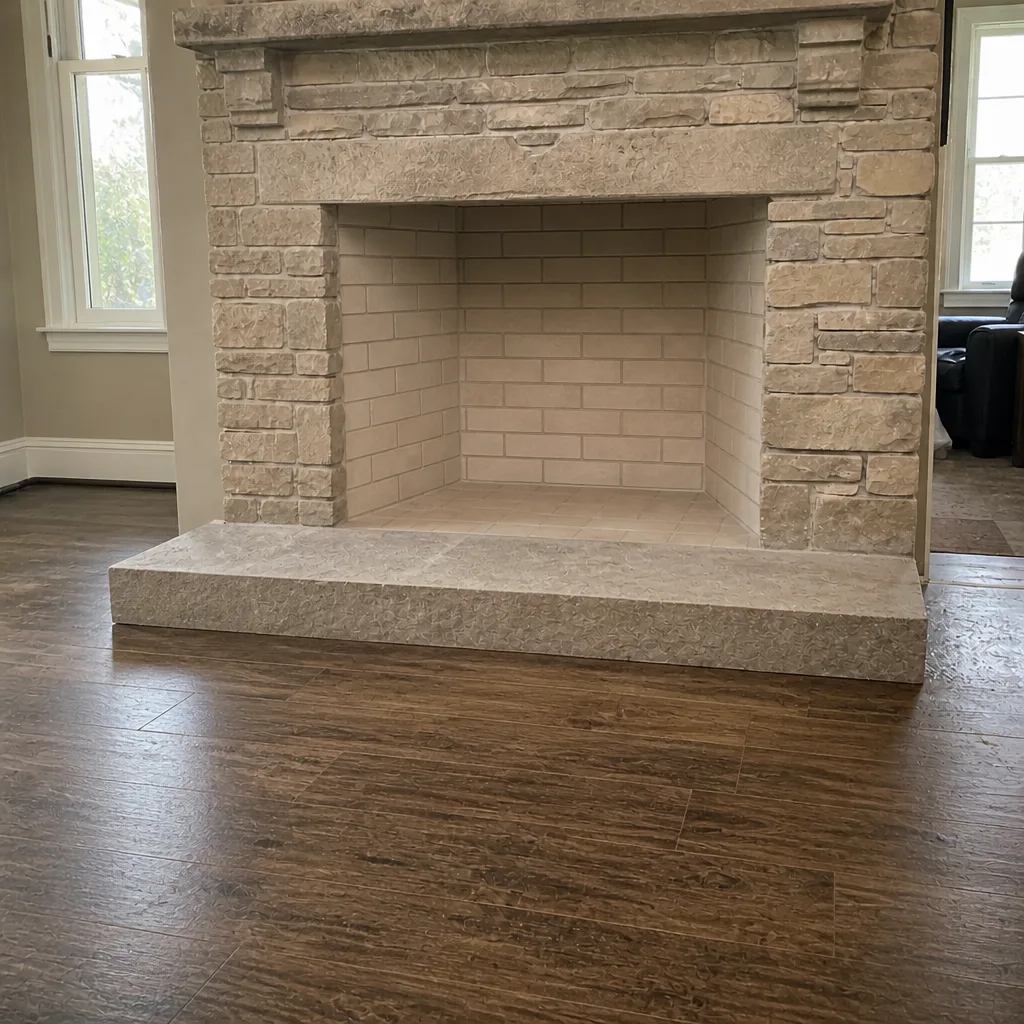 After
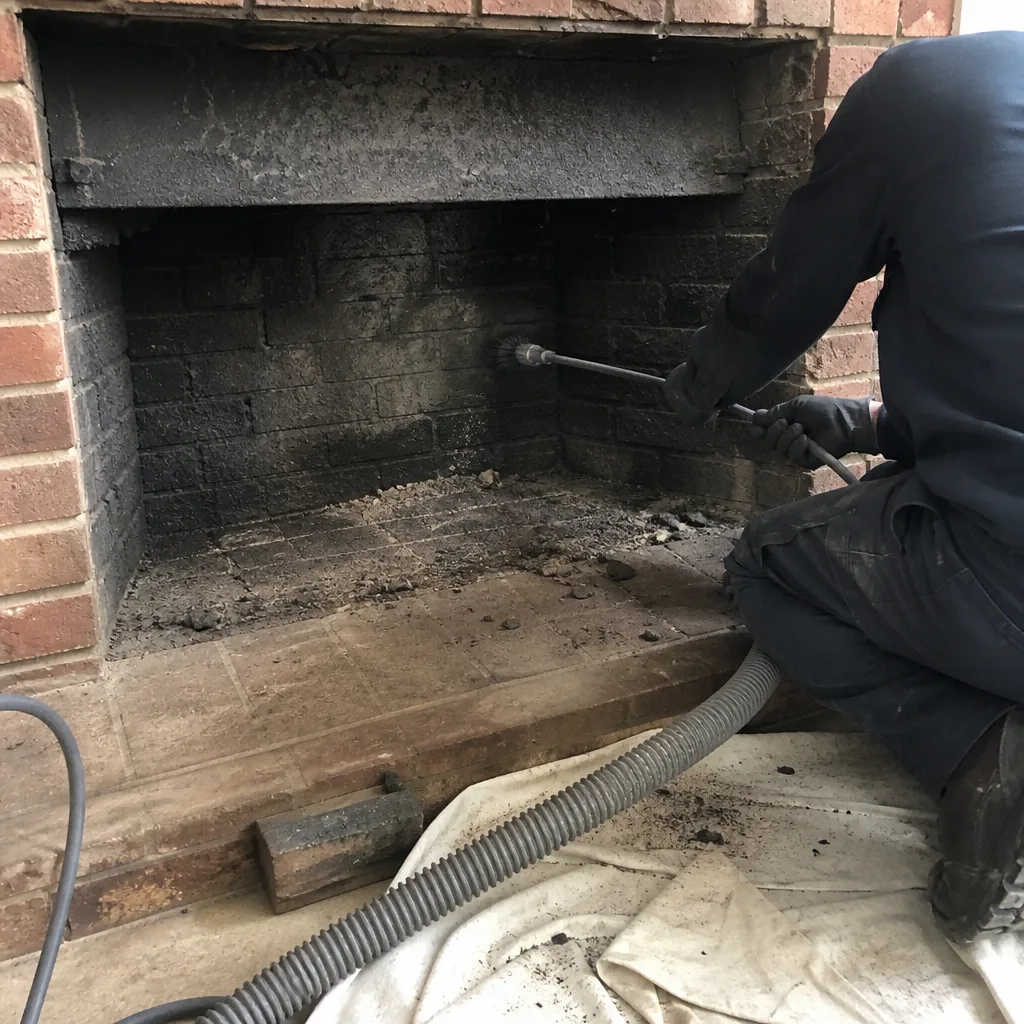 Before
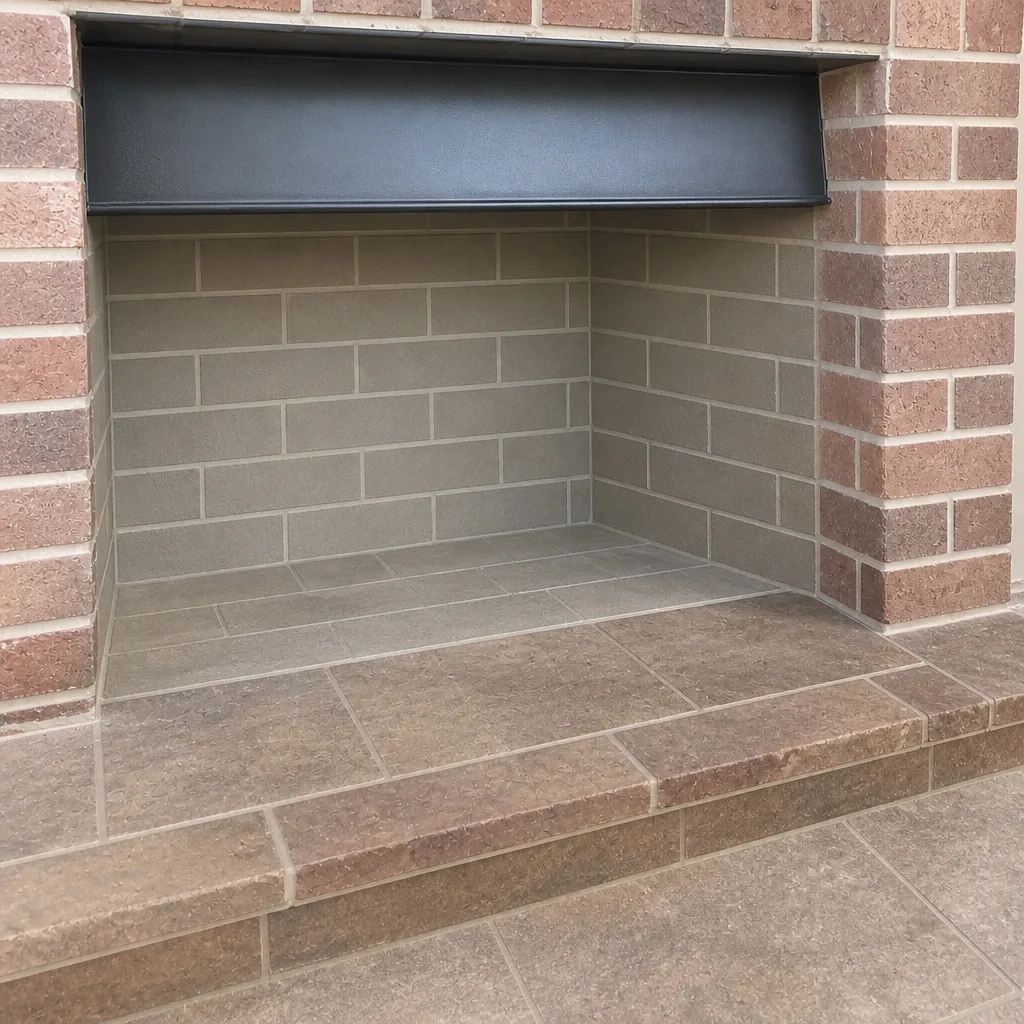 After
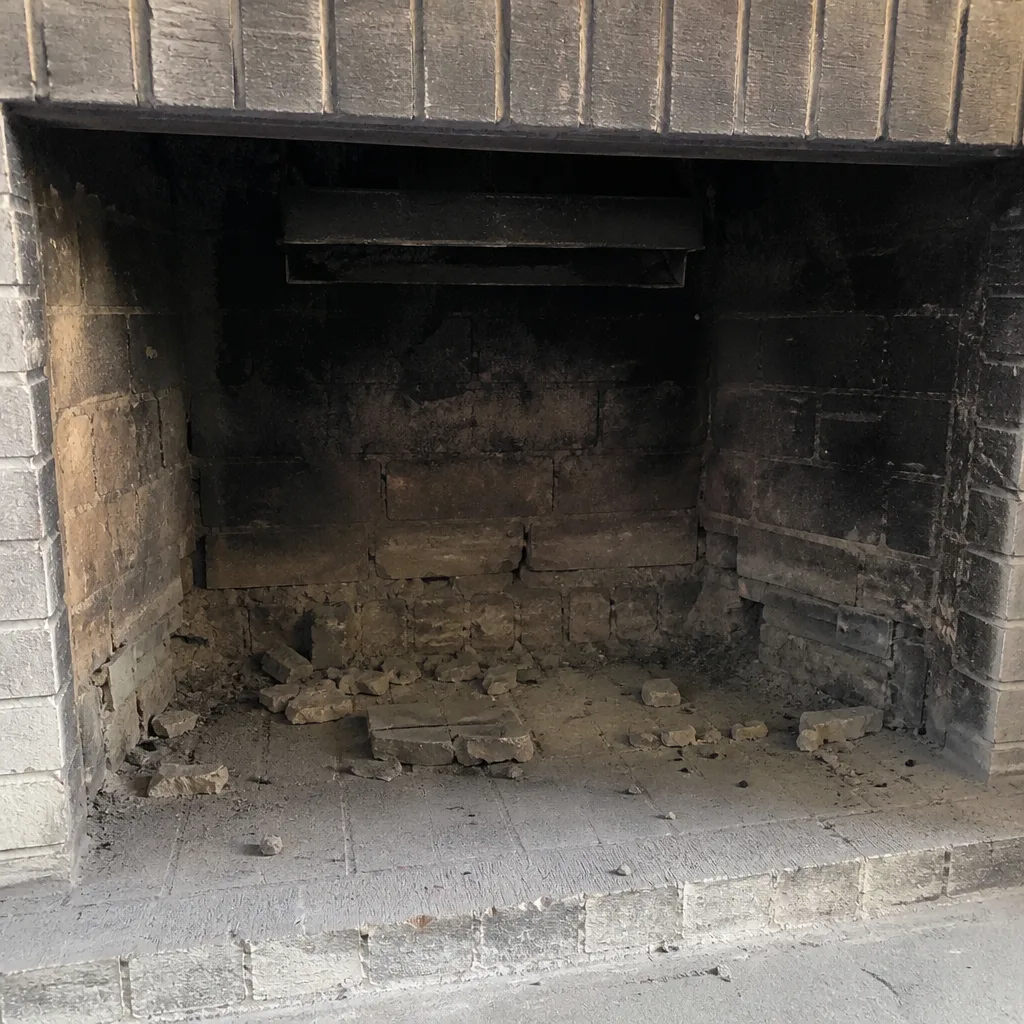 Before
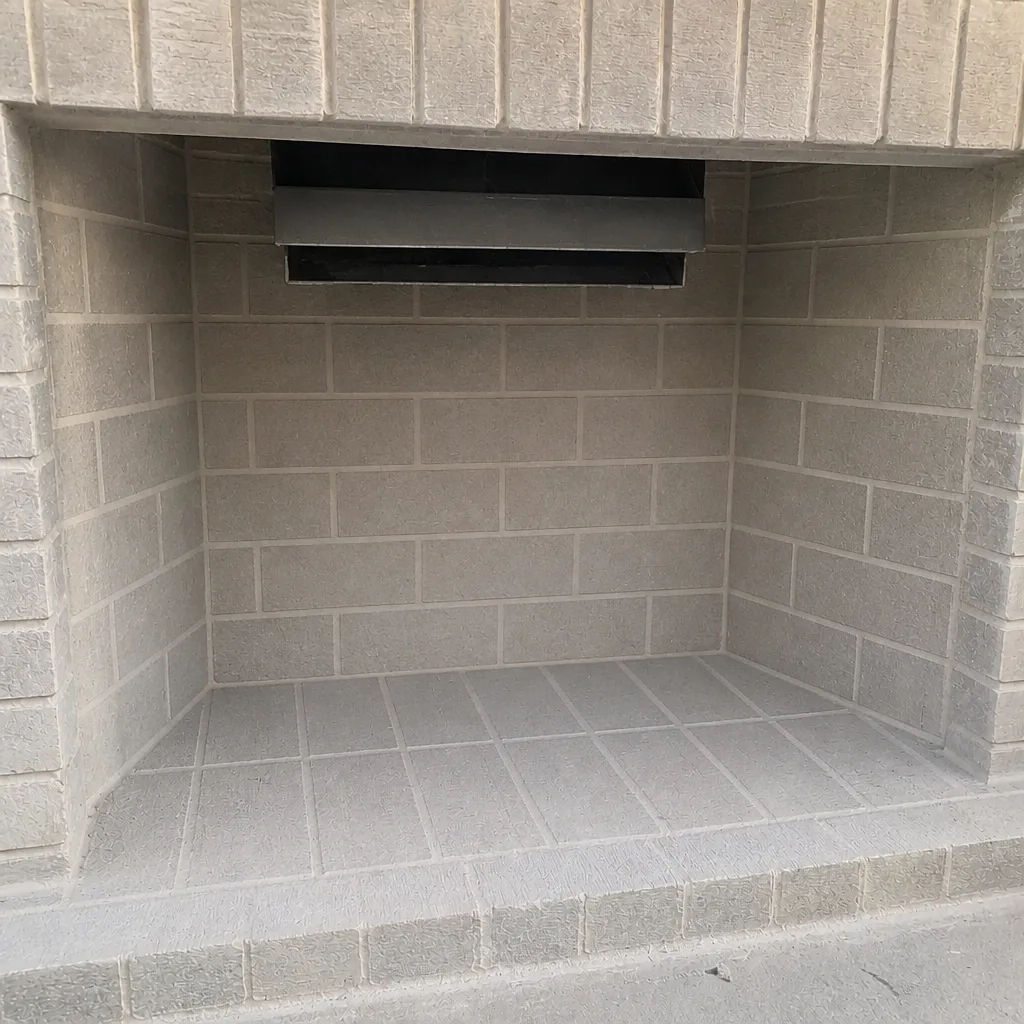 After
When to Call a Professional
Call a professional when you find a tier one item, when you’re not sure whether something is tier one or tier three, and when it’s time for the annual sweep and camera inspection. Specific triggers: smoke rolling into the room when you light a fire, a damper that won’t move through its full range, a missing or damaged cap, visible crown or flashing damage, a liner you’ve never had inspected, or a dryer vent that has never been cleaned. Call before the first burn of the season rather than after, because the pre-season sweep is what gives you a documented baseline. We repair, not just sweep, and our in-house repair capability means a structural issue found during a sweep can be diagnosed and addressed rather than handed off to another crew. Nashville Chimney Cleaning offers free estimates in Nashville. Call (844) 405-8628. We answer 24/7. Fast dispatch from 7am to 7pm, Sunday through Friday. Our technicians have up to 9 years of experience.
Frequently Asked Questions
Most chimneys should be swept and inspected once a year, and more often if you burn heavily or burn unseasoned wood. The annual sweep is also the inspection: a sweep without a camera look inside doesn’t tell you about liner condition, so ask for both. In a Nashville climate where the burning season can swing from mild to heavy overnight, an annual pre-season sweep gives you a baseline before the first cold snap. Call (844) 405-8628 for a precise recommendation on your chimney.
A sweep removes creosote, soot, and debris from the flue, firebox, and smoke chamber. An inspection evaluates condition: the liner, the crown, the flashing, the cap, and the hardware, with a camera to see the full flue interior. You want both on the same visit, because a clean flue with a damaged liner is still a safety problem. We include a camera inspection and a photo report so you can see what we see.
No. A flashlight from the firebox sees a short distance, at an angle, and can’t show you liner joints, the smoke chamber, or the full flue. The camera is what catches liner gaps, creosote depth, and offsets. You can meaningfully check the cap, crown, and exterior from the ground; the flue interior needs a camera and a trained eye.
It depends on the crack. A chip in the brick face is a watch item. A crack through the brick, or a gap at the mortar joint, can let heat reach what’s behind the firebox, and that’s a safety concern. The visual difference is small, which is why we photograph it, review it, and recommend based on camera evidence rather than a guess. When in doubt, have it looked at.
Not always a new liner. A flue with a roughened or cracked interior surface sometimes qualifies for HeatShield ceramic resurfacing, which rebuilds the surface and restores integrity without full replacement. When the liner is deteriorated or incorrectly sized beyond what resurfacing can address, full relining with DuraFlex flexible liner systems is the option. We lay out the options and the camera evidence behind each recommendation, so the decision is yours and it’s informed.
Because a dryer vent carries heat and exhaust just like a flue, and lint accumulation in the vent is a fire condition. Dryer vent fires are an established category of residential fire, and the vent is the least-examined system in most homes. It belongs on the same safety checklist, and it’s a fire-safety service, not a housekeeping task.
Creosote keeps accumulating, and in a glazed stage it ignites readily and burns hot. A neglected liner can crack or spall further, and a crown crack lets in water that accelerates every tier two problem on the chimney. None of it fails loudly until it does. The annual sweep and inspection is what keeps tier one items from developing in the first place. Call (844) 405-8628 and we’ll get a baseline on record.
The Bottom Line
A chimney maintenance checklist works when it’s organized by risk, not by location. Tier one items (creosote, liner damage, blockages, the damper, the cap) are the ones tied to chimney fires and carbon monoxide, and they stop your fireplace until a professional has looked at them. Tier two (crown, flashing, masonry, hardware, smoke chamber) protects the structure and gets more expensive when ignored. Tier three is cosmetic, and knowing which is which is what keeps you from over-spending and from under-reacting. Check before the season, mid-winter, after the season, and after any storm. Photograph everything so you can track rate of change, not just current state. And keep the Nashville home you’re protecting in the decision: check before you burn, and call for anything you can’t verify.
We handle the full-service chimney specialist side of this work, from routine sweeping and dryer vent cleaning to structural repair and relining, with materials from the brands professionals specify. If you’d rather the checklist be someone else’s job this year, call (844) 405-8628 for a free estimate. We answer 24/7. Fast dispatch from 7am to 7pm, Sunday through Friday.
Written by the team at Nashville Chimney Cleaning.